Ehhh... I know. Lame title.
But we grilled quesadillas! Which then makes it a quesa-grilla!

Ever since we got our new grill, I've been super excited to grill some non-traditional foods. Fruit, romaine, and pizza are all on the "must-try" list. Last night we thought we'd try our hands at grilled quesadillas.
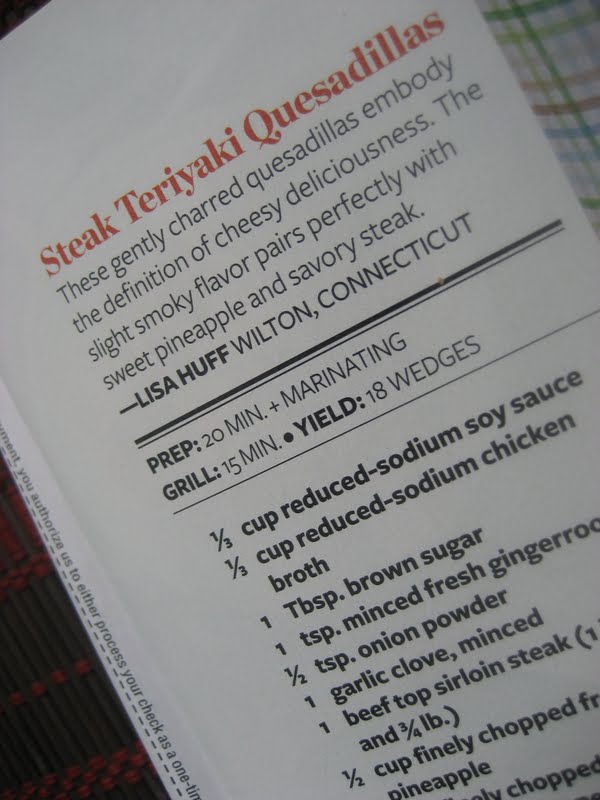
I found a recipe for Steak Teriyaki Quesadillas in the latest Taste of Home magazine and went with it.

The steak is marinated in a teriyaki style marinade, then grilled to perfection.

It's then sliced and combined with chopped green pepper, red onion, and fresh pineapple.

Then stacked onto a tortilla and topped with mozzarella cheese! (And some bacon because we had some in the fridge... mwa ha ha...)

Then, it's just returned to the grill for a few minutes to melt the cheese.

Oh, and get those beeeautiful grill marks.

Sweet from the teriyaki, smoky from the steak, crisp on the outside, gooey cheese on the inside. It's a winner!
(Scroll down for the recipe.)
---
As for other news, I worked on a fun project yesterday afternoon! When we were at IKEA, we purchased a plethora of inexpensive white picture frames, hoping to do a collage of some sort on the wall of the baking nook.

Preheat grill to medium heat. Drain steak and discard marinade. Grill steak, covered for 8-11 minutes on each side or until meat reaches desired doneness.
Remove steak from the grill and let rest a few minutes. Cut into bite-size pieces. In a large bowl, combine pineapple, red onion, green pepper, and steak.
Sprinkle half the cheese over three tortillas. Using a slotted spoon, top with steak mixture. Drizzle with reserved soy mixture. Sprinkle with remaining cheese; top with remaining tortillas.
Grill over medium heat for 1-2 minutes on each side or until cheese is melted. Cut into wedges; serve immediately.
But we grilled quesadillas! Which then makes it a quesa-grilla!

I found a recipe for Steak Teriyaki Quesadillas in the latest Taste of Home magazine and went with it.
The steak is marinated in a teriyaki style marinade, then grilled to perfection.

It's then sliced and combined with chopped green pepper, red onion, and fresh pineapple.

Then stacked onto a tortilla and topped with mozzarella cheese! (And some bacon because we had some in the fridge... mwa ha ha...)

Then, it's just returned to the grill for a few minutes to melt the cheese.

Oh, and get those beeeautiful grill marks.
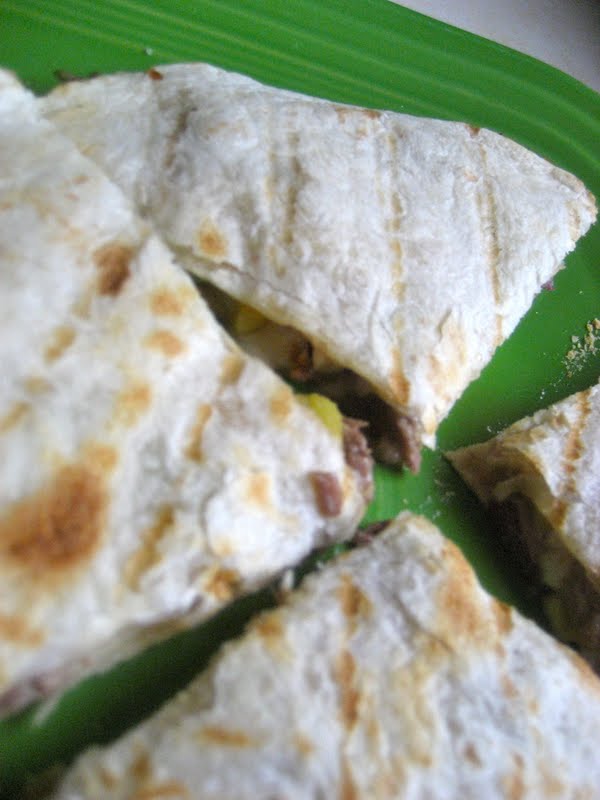
Sweet from the teriyaki, smoky from the steak, crisp on the outside, gooey cheese on the inside. It's a winner!
(Scroll down for the recipe.)
---
As for other news, I worked on a fun project yesterday afternoon! When we were at IKEA, we purchased a plethora of inexpensive white picture frames, hoping to do a collage of some sort on the wall of the baking nook.
 |
| Showcasing the following: Caramel Macchiato Cupcakes, Lemon Supreme Cupcakes, Irish Creme Cheesecake, Red Velvet Cheesecake Cupcakes, Chocolate Mousse, PB-Stuffed Hot Fudge Cupcakes, and S'mores Brownies. Whew! |
Ta-da! All pictures by yours truly. I started by cutting out a white piece of paper the size of each of the frames, and mapping out where they would go on the wall.

Then all I had to do was choose the pictures and have them printed.
 |
| In perspective to the whole room. |
Total cost? Less than $15... not too shabby if I say so myself.
Steak Teriyaki Quesadillas
Servings/Yield
3-4- Marinade
- ⅓ cup soy sauce
- ⅓ cup chicken broth
- 1 tbsp. brown sugar
- ¾ tsp. ginger
- ½ tsp. onion powder
- ½ tsp. minced garlic
- Quesadillas
- ¾ lb. beef top sirloin steak, 1-inch thick
- ½ cup finely chopped fresh pineapple
- ½ cup finely chopped red onion
- ½ cup finely chopped green pepper
- 2 cups shredded mozzarella cheese
- 6 flour tortillas, (8-inch)
Method
In a small bowl, combine all the marinade ingredients; set aside 3 tbsp. for quesadilla filling. Pour remaining marinade over steak in a large zipper bag or sealed container. Refrigerate at least 2 hours.Preheat grill to medium heat. Drain steak and discard marinade. Grill steak, covered for 8-11 minutes on each side or until meat reaches desired doneness.
Remove steak from the grill and let rest a few minutes. Cut into bite-size pieces. In a large bowl, combine pineapple, red onion, green pepper, and steak.
Sprinkle half the cheese over three tortillas. Using a slotted spoon, top with steak mixture. Drizzle with reserved soy mixture. Sprinkle with remaining cheese; top with remaining tortillas.
Grill over medium heat for 1-2 minutes on each side or until cheese is melted. Cut into wedges; serve immediately.
Comments
Oh my goodness, if you haven't tried grilled fruit, you are in for a treat. Pineapple is my favorite, and watermelon is surprisingly good too.
So cool that you used your own kitchen themed photos!
~Angela
@Jen- I am so trying that tonight. With peaches... we have a bunch and are headed out of town tomorrow so perfect solution!